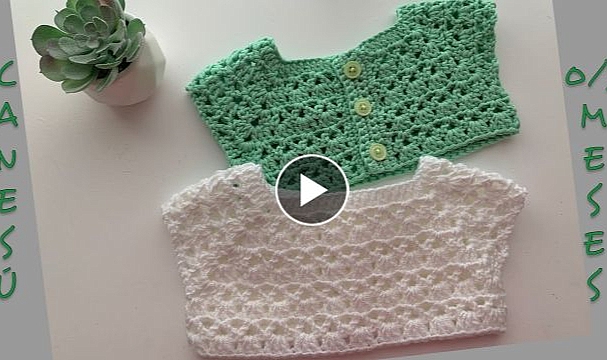
Crochet Yoke For Baby 0 to 3 Months
Crocheting a yoke for a baby 0-3 months is a simple and rewarding project. Here are the steps to follow:
Materials you will need:
Worsted weight yarn in your choice of color
Crochet hook in the size recommended for the yarn
Yarn needle
Scissors
Instructions:
To begin, make a chain that is the same width as the baby's chest measurement, plus an additional 4-6 chains for ease. For example, if the baby's chest measures 16 inches, you would make a chain of 20-22 stitches.
Once you have made the chain, join it with a slip stitch to form a ring.
Chain 1, and single crochet in each stitch around the ring. Slip stitch to join to the first single crochet.
Chain 2, and double crochet in each stitch around. Slip stitch to join to the second chain of the first double crochet.
Repeat step 4 for as many rounds as desired, until the yoke is the desired height.
To create the armholes, chain the number of stitches needed for the armhole (this will vary depending on the size of the baby and the pattern you are using). For example, for a 0-3 month size, you could chain 8-10 stitches for the armhole.
Skip the next number of stitches that matches the chain you just made for the armhole (e.g. skip 8-10 stitches) and double crochet in the next stitch.
Continue double crocheting around the rest of the yoke until you reach the next armhole, then repeat step 6 and 7.
Finish the yoke as desired, such as with a border or additional rounds of stitches.
Note: These instructions are for a basic yoke, but there are many variations and patterns available online for more complex designs. It's important to measure the baby's chest and adjust the chain size accordingly to ensure a good fit.


